Making a stencil for SMT PCB assembly is a crucial step in the process of getting high - quality printed circuit boards. As an SMT PCB assembly supplier, I've had my fair share of experiences in this area, and I'm here to share some tips on how to make a stencil for SMT PCB assembly.
Understanding the Basics of SMT Stencils
First off, let's talk about what an SMT stencil is. An SMT stencil is a thin sheet, usually made of stainless steel, that has holes cut out in the shape of the solder pads on the PCB. The purpose of the stencil is to apply solder paste accurately onto the pads before the components are placed.
When you're starting with SMT PCB assembly, you need to understand that the stencil is like a blueprint for applying solder paste. It ensures that the right amount of solder is placed in the right places. This is super important because if the solder paste application is off, it can lead to all sorts of problems like solder bridges, insufficient solder, or even component failure.
Designing the Stencil
The first step in making a stencil is designing it. You can't just go in blindly and start cutting holes. You need to have a proper design that matches the PCB layout. This is where SMT Stencil Design comes into play.
The design process involves a few key elements. First, you need to know the size and shape of the solder pads on the PCB. You'll also need to consider the type of components that will be placed on the board. For example, if you're dealing with fine - pitch components, you'll need to have smaller holes in the stencil.
You can use specialized software to design the stencil. This software allows you to create a digital representation of the stencil, which can then be used to manufacture the physical stencil. Make sure to double - check your design for any errors. A small mistake in the design can lead to big problems during the assembly process.
Choosing the Right Material
The material of the stencil is another important factor. As I mentioned earlier, stainless steel is a popular choice. It's durable, has good chemical resistance, and can maintain its shape during the printing process.
There are different thicknesses of stainless - steel stencils available. The thickness you choose depends on the size of the components and the amount of solder paste you need to apply. Thicker stencils can hold more solder paste, but they might not be suitable for fine - pitch components. Thinner stencils are better for small components, but they might not provide enough solder for larger ones.
Manufacturing the Stencil
Once you have the design and the material sorted out, it's time to manufacture the stencil. There are a few methods for manufacturing stencils, and the most common ones are laser cutting and chemical etching.
Laser cutting is a precise method that uses a high - powered laser to cut the holes in the stencil. It's great for creating small, accurate holes, which is ideal for fine - pitch components. Chemical etching, on the other hand, involves using a chemical solution to etch the holes in the stencil. It's a bit less precise than laser cutting but can be more cost - effective for larger stencils.
Testing the Stencil
After the stencil is manufactured, it's important to test it. You can do a test print on a sample PCB to see how well the solder paste is being applied. Check for any issues like uneven solder paste distribution, clogged holes, or misaligned holes.
If you find any problems, you'll need to make adjustments to the stencil. This could involve re - cutting the holes, cleaning the stencil, or even redesigning it if the problem is severe.
Maintenance of the Stencil
Once the stencil is in use, proper maintenance is crucial. After each use, you should clean the stencil to remove any leftover solder paste. You can use a specialized stencil cleaner and a soft brush to clean the stencil. Make sure to dry the stencil thoroughly before storing it.
Regularly inspect the stencil for any signs of wear and tear. If you notice any damage, such as bent edges or broken holes, you'll need to replace the stencil.
SMT BGA Assembly and Mixed Technology PCB Assembly
When it comes to SMT PCB assembly, SMT BGA Assembly and Mixed Technology PCB Assembly are two important aspects.
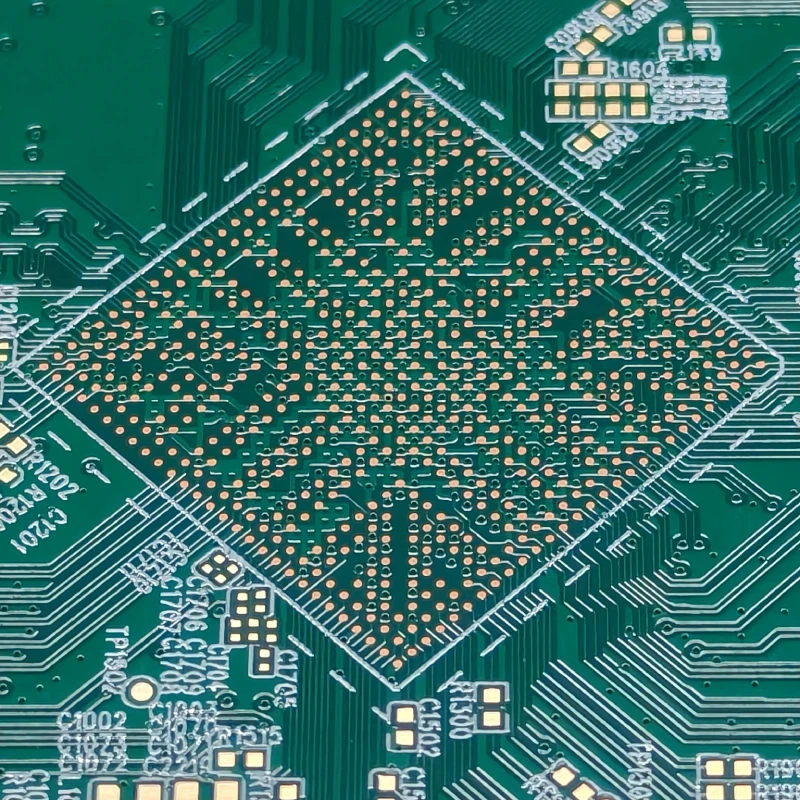
SMT BGA (Ball Grid Array) assembly involves placing components with a grid of solder balls on the bottom. The stencil for BGA assembly needs to be designed carefully to ensure that the right amount of solder is applied to each ball.
Mixed technology PCB assembly combines both surface - mount and through - hole components. This means that the stencil needs to be designed to accommodate both types of components. You'll need to have different hole sizes and shapes to apply solder paste to the different types of pads.
Conclusion
Making a stencil for SMT PCB assembly is a multi - step process that requires careful planning, design, and execution. From understanding the basics of stencils to choosing the right material, manufacturing, testing, and maintaining the stencil, each step is crucial for getting high - quality results.
If you're in the market for SMT PCB assembly services, we're here to help. Whether you need a simple stencil for a small project or a complex one for a large - scale production, we have the expertise and experience to meet your needs. Contact us to discuss your requirements and start the process of getting your PCBs assembled.
References
- IPC - 7525B: Stencil Design Guidelines.
- Various industry - specific articles on SMT PCB assembly and stencil manufacturing.


