Alright folks, as a Burn-In Testing supplier, I'm stoked to share the best practices for this crucial process with you. Burn-In Testing is a real game - changer in the electronics industry, ensuring that our devices are reliable and ready for the long - haul.
First off, let's understand what Burn-In Testing is all about. Burn-In Testing, which you can learn more about Burn-In Testing, is the process of subjecting electronic components or devices to an extended period of operation under specific conditions. It's like a stress test for your gadgets. It helps to identify early failures, often referred to as "infant mortality" failures. These are the bugs that show up in the first few hours or days of use, and Burn-In Testing catches them before they cause problems for end - users.
Pre - Test Preparation
One of the most important best practices starts even before the actual testing begins. That's the pre - test preparation. You gotta have a well - defined test plan. This plan should cover all the nitty - gritty details, like the types of devices you're testing, the duration of the test, the environmental conditions (temperature, humidity, etc.), and the expected outcomes.
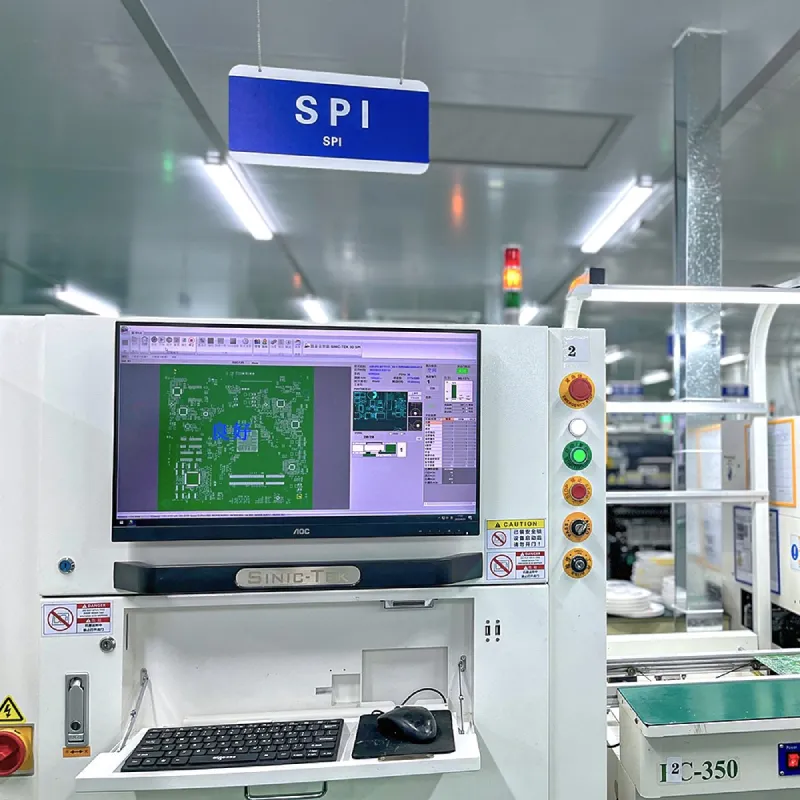
Inspect your devices thoroughly before the test. Look out for any visible defects, like loose connections or damaged components. This step can save you a lot of time and headaches during the test. For example, if you're testing a circuit board, make sure all the soldering is intact. You can use Solder Paste Inspection to ensure the quality of the solder joints before starting the Burn - In Test.
Environmental Conditions
Getting the environmental conditions right is super important. Most electronic components are sensitive to temperature and humidity. For temperature, you usually want to set it higher than the normal operating temperature. This accelerates the aging process of the components and makes it more likely to find those early failures. A common temperature range for Burn - In Testing is between 60°C and 85°C, but it can vary depending on the device.
Humidity is another factor. High humidity can cause corrosion, which can lead to false failures during the test. So, keep the humidity level in check. A relative humidity of around 30% - 60% is usually a good range.
Test Duration
Determining the right test duration is a bit of an art. It depends on the type of device and the failure rate you're trying to achieve. For some simple components, a few hours might be enough. But for more complex devices like smartphones or high - end computers, you might need to run the test for several days or even weeks.
You can use statistical models to estimate the test duration. These models take into account factors like the expected failure rate, the number of devices being tested, and the confidence level you want to achieve. For instance, if you want a 95% confidence level that your devices will be reliable in the field, you'll need to adjust the test duration accordingly.
Monitoring During the Test
Once the test has started, you can't just sit back and relax. You need to monitor the devices constantly. Use automated monitoring systems to keep track of things like temperature, voltage, current, and any other relevant parameters. This helps you detect any abnormal behavior early on.
If you notice a device acting up, like overheating or drawing too much current, you can pull it out of the test and investigate. This way, you can quickly identify the root cause of the problem and take corrective actions, like replacing a faulty component.
Post - Test Analysis
After the test is over, it's time for the post - test analysis. Look at all the data you've collected during the test. Identify any patterns in the failures. Are there certain types of components that are failing more often? Is there a specific time during the test when most failures occur?
This analysis can provide valuable insights into the design and manufacturing process. For example, if you find that a particular type of capacitor is failing frequently, you might need to re - evaluate your supplier or change the design to use a different capacitor.
Combining with Other Testing Methods
Burn - In Testing is a powerful tool, but it's even better when combined with other testing methods. Take ICT Testing for example. ICT Testing, or In - Circuit Testing, is used to test individual components on a printed circuit board. By combining ICT Testing with Burn - In Testing, you can get a more comprehensive view of the device's quality.
ICT Testing can catch any manufacturing defects in the individual components, while Burn - In Testing tests the device as a whole under stress conditions. This one - two punch can significantly improve the reliability of your products.
Documentation
Throughout the entire Burn - In Testing process, documentation is key. Keep a detailed record of everything, from the pre - test inspection results to the post - test analysis. This documentation can be used for quality control purposes, as well as for regulatory compliance.
It also comes in handy when you're trying to troubleshoot problems or make improvements to your testing process. For example, if you notice a sudden increase in the failure rate, you can go back to your documentation and see if there were any changes in the test conditions or the devices being tested.
Training and Staff Competence
Your staff plays a crucial role in the success of Burn - In Testing. Make sure they're well - trained in all aspects of the testing process, from setting up the test equipment to analyzing the test results.
Provide regular training sessions to keep them up - to - date with the latest best practices and technologies. A competent and knowledgeable staff can make a big difference in the quality and efficiency of your Burn - In Testing operations.
Cost - Benefit Analysis
Let's talk about money. Burn - In Testing can be costly, especially in terms of energy consumption and the time it takes to run the tests. That's why it's important to do a cost - benefit analysis.

Weigh the cost of the testing against the potential savings from avoiding product recalls and customer complaints. In most cases, the long - term benefits of Burn - In Testing far outweigh the initial costs. For example, if you can catch a defect early on and fix it before the product reaches the market, you can save a ton of money on warranty claims and reputation damage.
Continuous Improvement
The world of electronics is constantly evolving, and so should your Burn - In Testing process. Continuously look for ways to improve the efficiency and effectiveness of your testing. This could involve upgrading your test equipment, optimizing the test conditions, or implementing new testing techniques.
Stay up - to - date with the latest research and industry trends. Join industry associations and attend conferences to learn from other experts in the field. By continuously improving your Burn - In Testing process, you can ensure that your products are of the highest quality and remain competitive in the market.
If you're in the market for reliable Burn - In Testing services, I'd love to have a chat with you. Whether you have questions about our testing process, need a custom - tailored solution for your products, or are just looking to learn more about how Burn - In Testing can benefit your business, don't hesitate to reach out. We're here to help you ensure the quality and reliability of your electronic products.
References
- "Electronic Component Reliability: Physics of Failure - Based Modeling and Lifecycle Prediction"
- "Testing and Inspection in Electronics Manufacturing"
- Industry whitepapers on Burn - In Testing best practices


